Helios 44–2 lens for Nikon F mount
Simple 1983 USSR 58mm f/2 lens modding
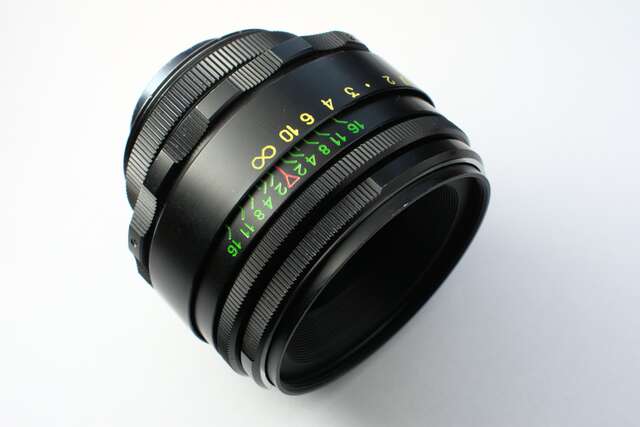
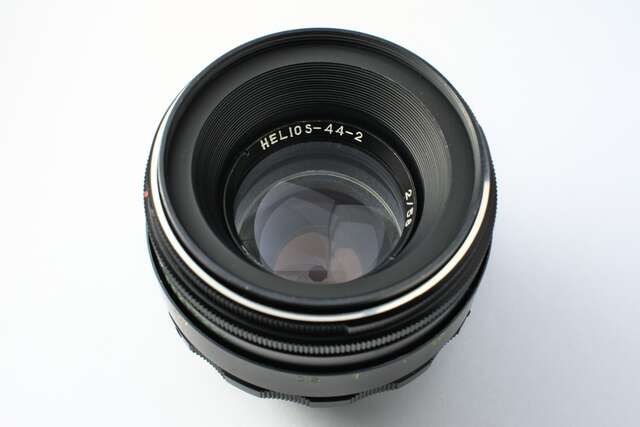
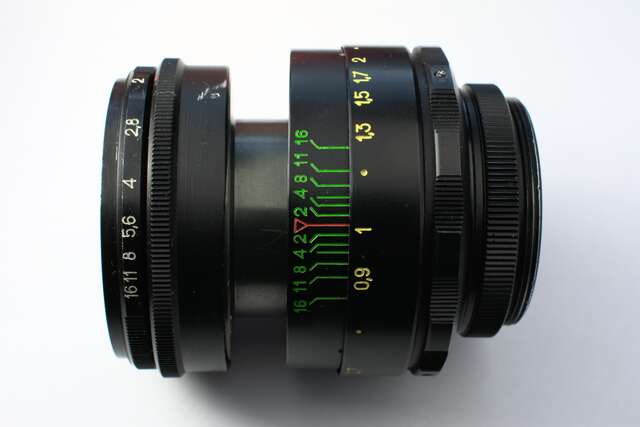
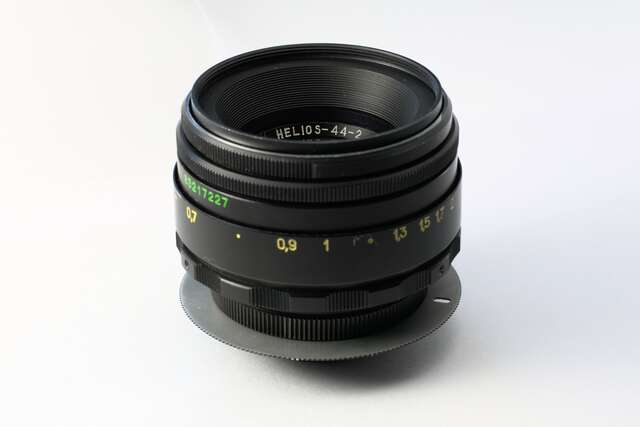
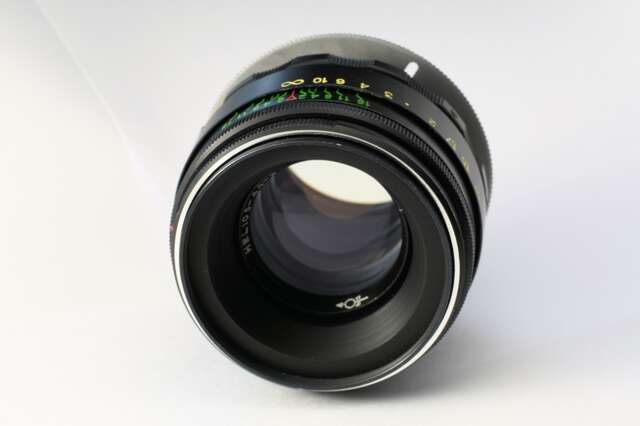
Near the end of 2019, I purchased one of the notorious Helios 44–2 58 mm f/2 lenses. These lenses were made in the USSR, and the example I got was made for the M42 screw mount.
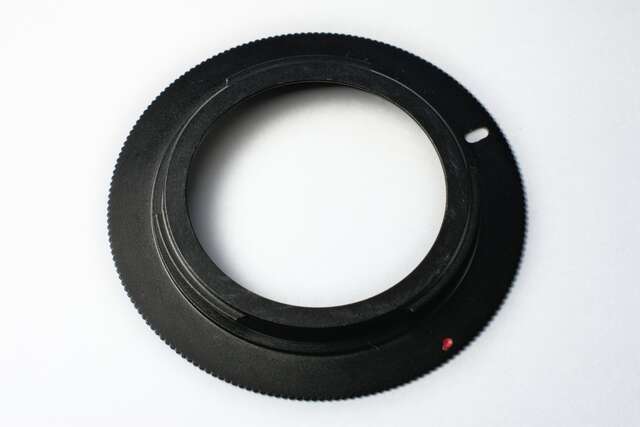
Not having any cameras that take M42 lenses, I set out to adapt and (reversibly) modify this lens to work with a mount I can work with—the Nikon F mount. Fortunately for me, this is about as easily said as done. There are adapters available cheaply from the usual suspects which M42 lenses will thread into, converting them straight to Nikon F, mechanically. However, there is a "gotcha" in that the flange focal distance is different between the mounts.
Flange focal distances
The flange focal distance is particular to each lens mounting system. It is the distance between the flange of the lens mount and the film plane. This is where some added complication for Nikon conversion comes in. The two FFDs we are dealing with are:
These numbers spell trouble: the FFD of the Nikon F-mount system is longer than the system the lens is designed for. This means that when we put the lens onto a Nikon camera, the film plane will appear too far away, and the image will form just ahead of it. Compounding this problem is that the lens mount adapters out there for these two mounts all add some thickness into the mix. A quick measurement when mine arrived in the post showed a 0.95 to 1 mm thickness. This means that, once assembled with the camera, the lens will be forming an image just over 2 mm ahead of the film or sensor.
Note that on some other camera systems, this is a non-issue. Nikon F-mount has one of the longer FFDs of modern consumer cameras[3]. This is increasingly the case as mirrorless cameras become more common, as these generally have much shorter FFDs than SLRs by their nature of omitting a mirror and pentaprism. Many other camera systems have a FFD short enough that, even with the thickness of an adapter, they can still use M42 lenses without issue.
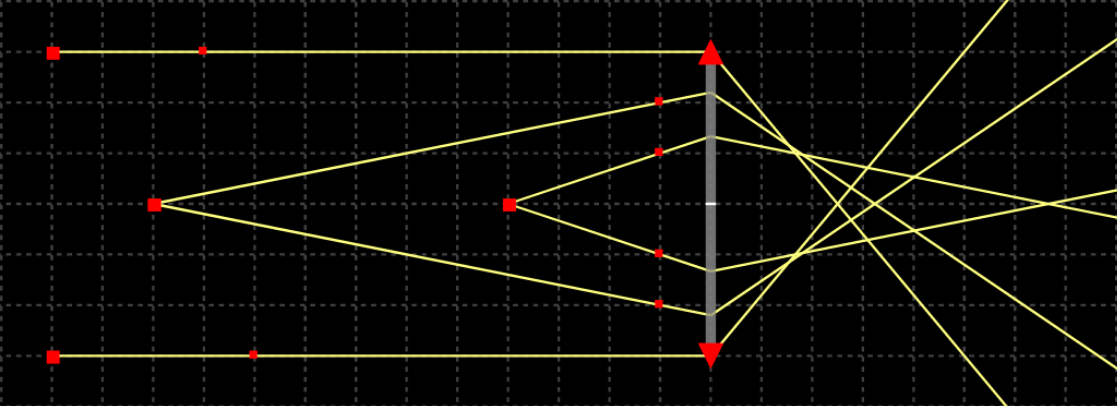
But wait. If you think about it, all is not lost yet. Even though I always knew I'd be modifying it before buying the lens, the lens is still usable for some tasks without modification. Ignoring the fact that a 20th century Soviet lens is being mounted to a 21st century digital body, all we've done is equivalent to inserting a ~2 mm extension tube between a M42 lens and a M42 body. Even though the image is being formed in front of the film plane, we can just twist the focus ring, right? Let's take a look at this diagram showing three sources on the left side of the lens forming three images on the right side:
The first source is something at an infinite distance from the lens. Way off the left of the diagram millions of miles away such that the rays coming from it are perfectly parallel. This forms an image on the right of the lens that is the closest to the lens of any of the images. The source closest to the lens forms an image the furthest away from the lens. Of course, the remaining source in the centre forms an image between the other two images on the right of the lens. In order to take a clear photograph of one of the sources, we must insert our film at the point behind the lens (i.e. on the right) where the image of the desired object forms.
The lens, like most, uses a helicoid mechanism to translate the twisting of the focusing ring into a movement of the lens further from or closer to the film plane. So we can actually use the focusing ring to move the lens ~2 mm closer to the film plane than we normally would for a M42 camera. So what's the problem?
Infinity focus
We've seen that we can just bring the lens closer to the film plane with the focusing ring, and achieve proper focus on the subject we want to photograph. However, looking back at the diagram, we can see that an object at infinity presents the case with the shortest distance from the lens to the film. In the case of many photographic lenses, their focusing rings stop at infinity. In the case of the Helios, this means that the image of whatever is at infinite distance from the lens is what is forming 2 mm ahead of the film plane.
With what we've learned, let me amend my given definition of flange focal distance. In the case of most photographic lenses, the FFD is the distance behind the flange of the lens mount that the film must be for an image of what is at infinity to form.
So we lose infinity focus, since the Helios's focusing ring won't go beyond "M42 infinity" to move the optics 2 mm closer to the film than it's used to. This means that we can no longer focus on any object too far from the lens. As the maths works out (read: judging by the test photo I took because I'm too lazy to do the maths), that distance is on the order of 10 metres.
If you only want to use this lens in closer encounters than that, then you probably don't want or need to really do any mods to the lens. E.g. for limited portraiture, it's probably fine. But I'm a perfectionist, and I also like taking photos of landscape, so I'd rather do some modifications to the lens to get it to focus at infinity on Nikon F-mount.
Adapter modification
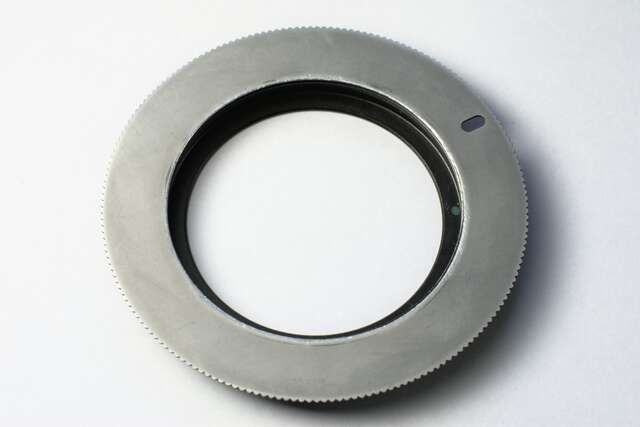
The first part of my mod consists of shaving some of the 1 mm thickness of the M42 to Nikon-F mount adapter. For a relatively small and light lens as the Helios, it's not necessary to have as much meat in the adapter as the manufacturer did. It probably just makes manufacturing easier, since too fragile a part will be harder to cast reliably, and get out of the cast.
I took to one of my lens mount adapters (they're cheap as chips from China) with an old file. If using a hand file, be sure to take measurements very frequently to make sure you're taking material off nice and evenly. I finished the surface with a sheet of glass backing some wet sandpaper. I finished around 2000 grit and got most of the filing marks out.
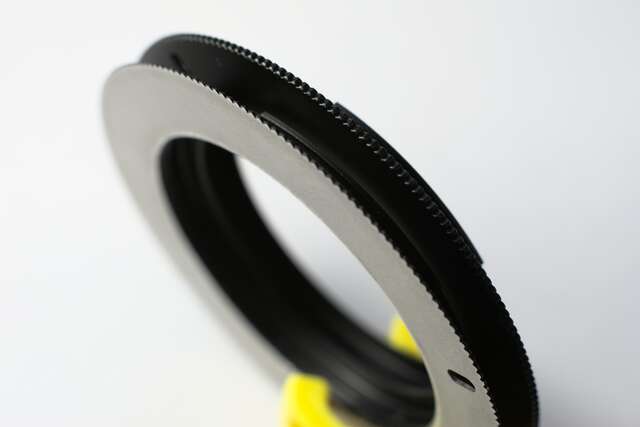
In the end, I took about 0.5 mm of thickness off the adapter ring. I pretty much just took it down evenly until I almost couldn't slip a piece of paper in between the end of the M42 thread on the lens and the piece of the adapter that "cups" it. The remaining 1.5 mm required will have to be claimed from the lens itself rather than the adapter.
Original (top) sandwiched against the modified one (bottom):
Lens modification
The Helios lens has a relatively simple construction. The rear section comprises the M42 thread and the helicoid. The entire optical block threads into this. The optical block includes the front and rear lens groups, iris, and aperture rings.
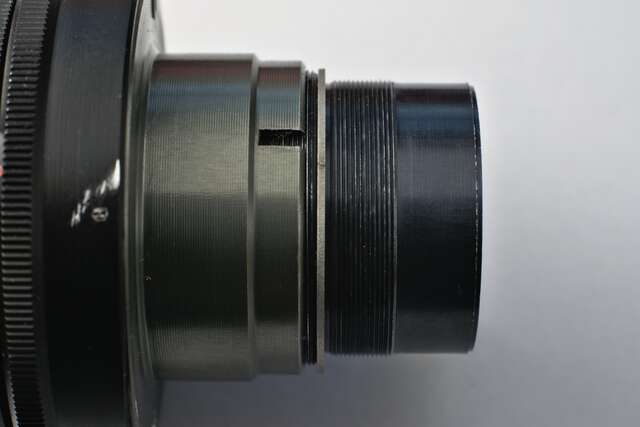
The optical block threads in up until it hits a dead stop. This stop is courtesy of a thin aluminium spacer ring which separates a shoulder on the optical block (just behind the aperture sleeve) from the mating face of the rear section.
Fine M31x0.5 thread on optical block showing original spacer: 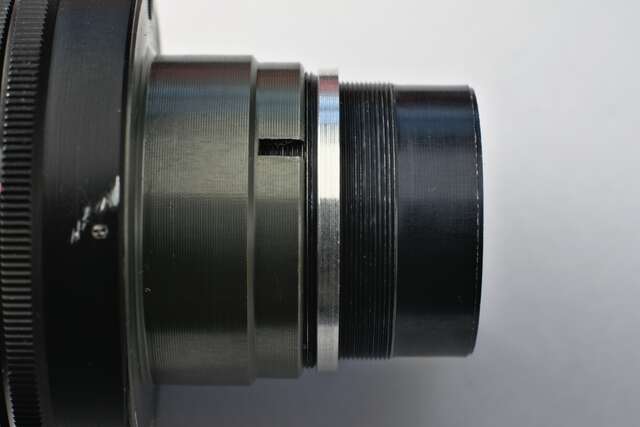
Upturned rear block showing matching thread and shoulder/face in the recess: 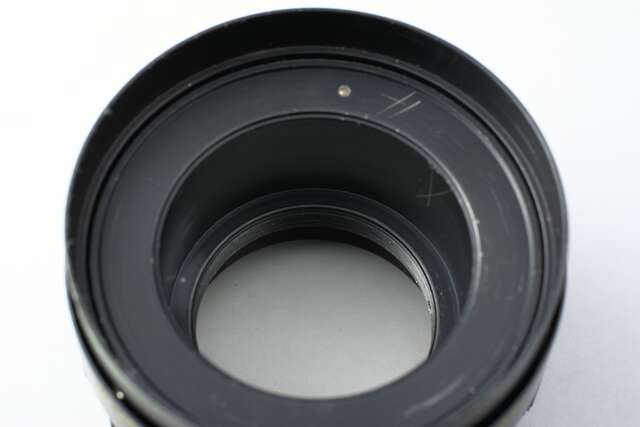
This spacer on my lens measures around 2 mm in thickness. I've read other people's material on modifying these lenses and they have measured different thicknesses to this. Presumably at the factory, the lenses were fitted with slightly different sized spacer to compensate for variation between individual lenses.
Back on track. If thinner, it would allow the entire optical block to move closer to the film plane. Note that I couldn't have simply deleted the spacer entirely, since then the aperture ring of the lens would have bound up with the rear section of the lens. So instead, I have already removed around 0.5 mm from the lens mount. After some experimentation with materials around the house, I came up with a spacer ring made from the plastic lid of a milk bottle which brought the lens into perfect focus when pinned on the "∞" mark and pointed at a mountain ~10 km away. The temporary ring measured 0.8 mm thick, and after some digging, I was able to find an eBay supplier of all manners of strange sized stainless steel washers.
Old spacer (left, 2 mm and change) vs new spacer (right, 0.8 mm): 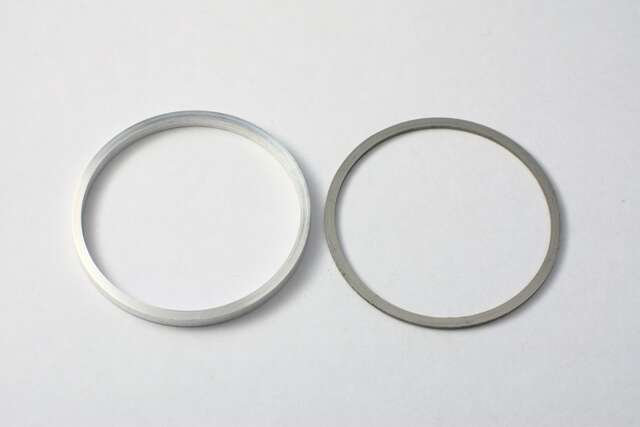
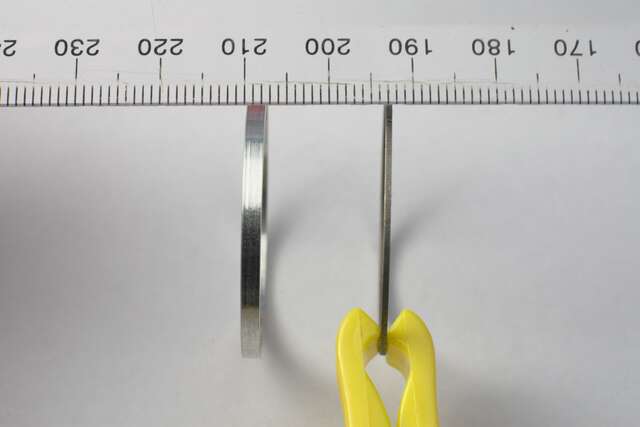
I purchased some 31x34x0.8 mm 304 stainless washers, and once they arrived, found a nice clean candidate to replace the original spacer with. The result is (as far as my eyes and the focus indicator in all cameras I've tried) perfect focus at infinity.
Fitting the new spacer on showed it to be a slightly tighter fit than the original. The inner diameter is ever slightly more snug than the old one, so it requires the gentlest of a twist/wriggle.
With the new spacer in and the lens back together, the aperture ring also feels marginally tighter near the dark end. This is probably due to clearance issues now that the front block is sitting 1.5 mm or more further into the rear block, however it's not anything significant/damaging, so I won't worry about shaving anything off the aperture ring to compensate for now.
Finished!
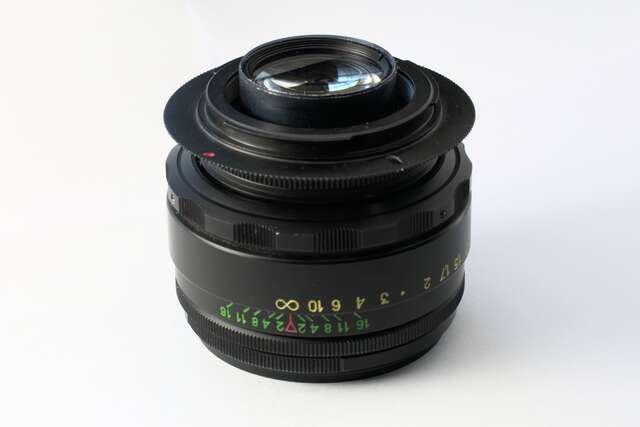
I've taken some test shots through the lens at infinity, but they're not worthy of posting here. I'll have to go and do some more shooting with the lens and see what I can rustle up. In the meantime, I can at least show you the lens with its adapter. The adapter adds a little bulk/awkwardness to it, since there is now an extra ring on the back where there just used to be a thread. In theory, I could cut down the ring used to grip the adapter, but I'd still need to at least leave the locking hole which stops it from rotating inside the camera body once it is in the correct position. I think this would look uglier, so I'll leave it be.
The only other thing I might change is to re-anodise the visible portion of the aluminium adapter where I had to sand it thinner. This would make it look a little bit more seamless since at the moment it does stand out a little. Not too much though.
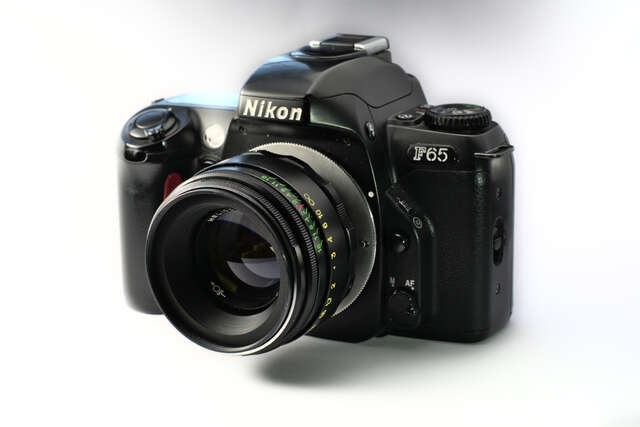
Finally, here's the lens mounted on an old F65 I got for $1. The lens is a pretty compact addition to any body. Not a pancake lens, but much more compact than my modern 50 mm f/1.8 prime, granted the Helios is 58 mm f/2.
