An Improved Vim Clutch
A few years ago I found the idea of using a pedal to help tame vim from GitHub user alevchuk's instructions. It makes a nice novelty item, but I was always disappointed at the idea of hacking it together out of two pedals and some toothpicks. I was also a bit disappointed that the pedals appeared to use optical rather than mechanical switches.
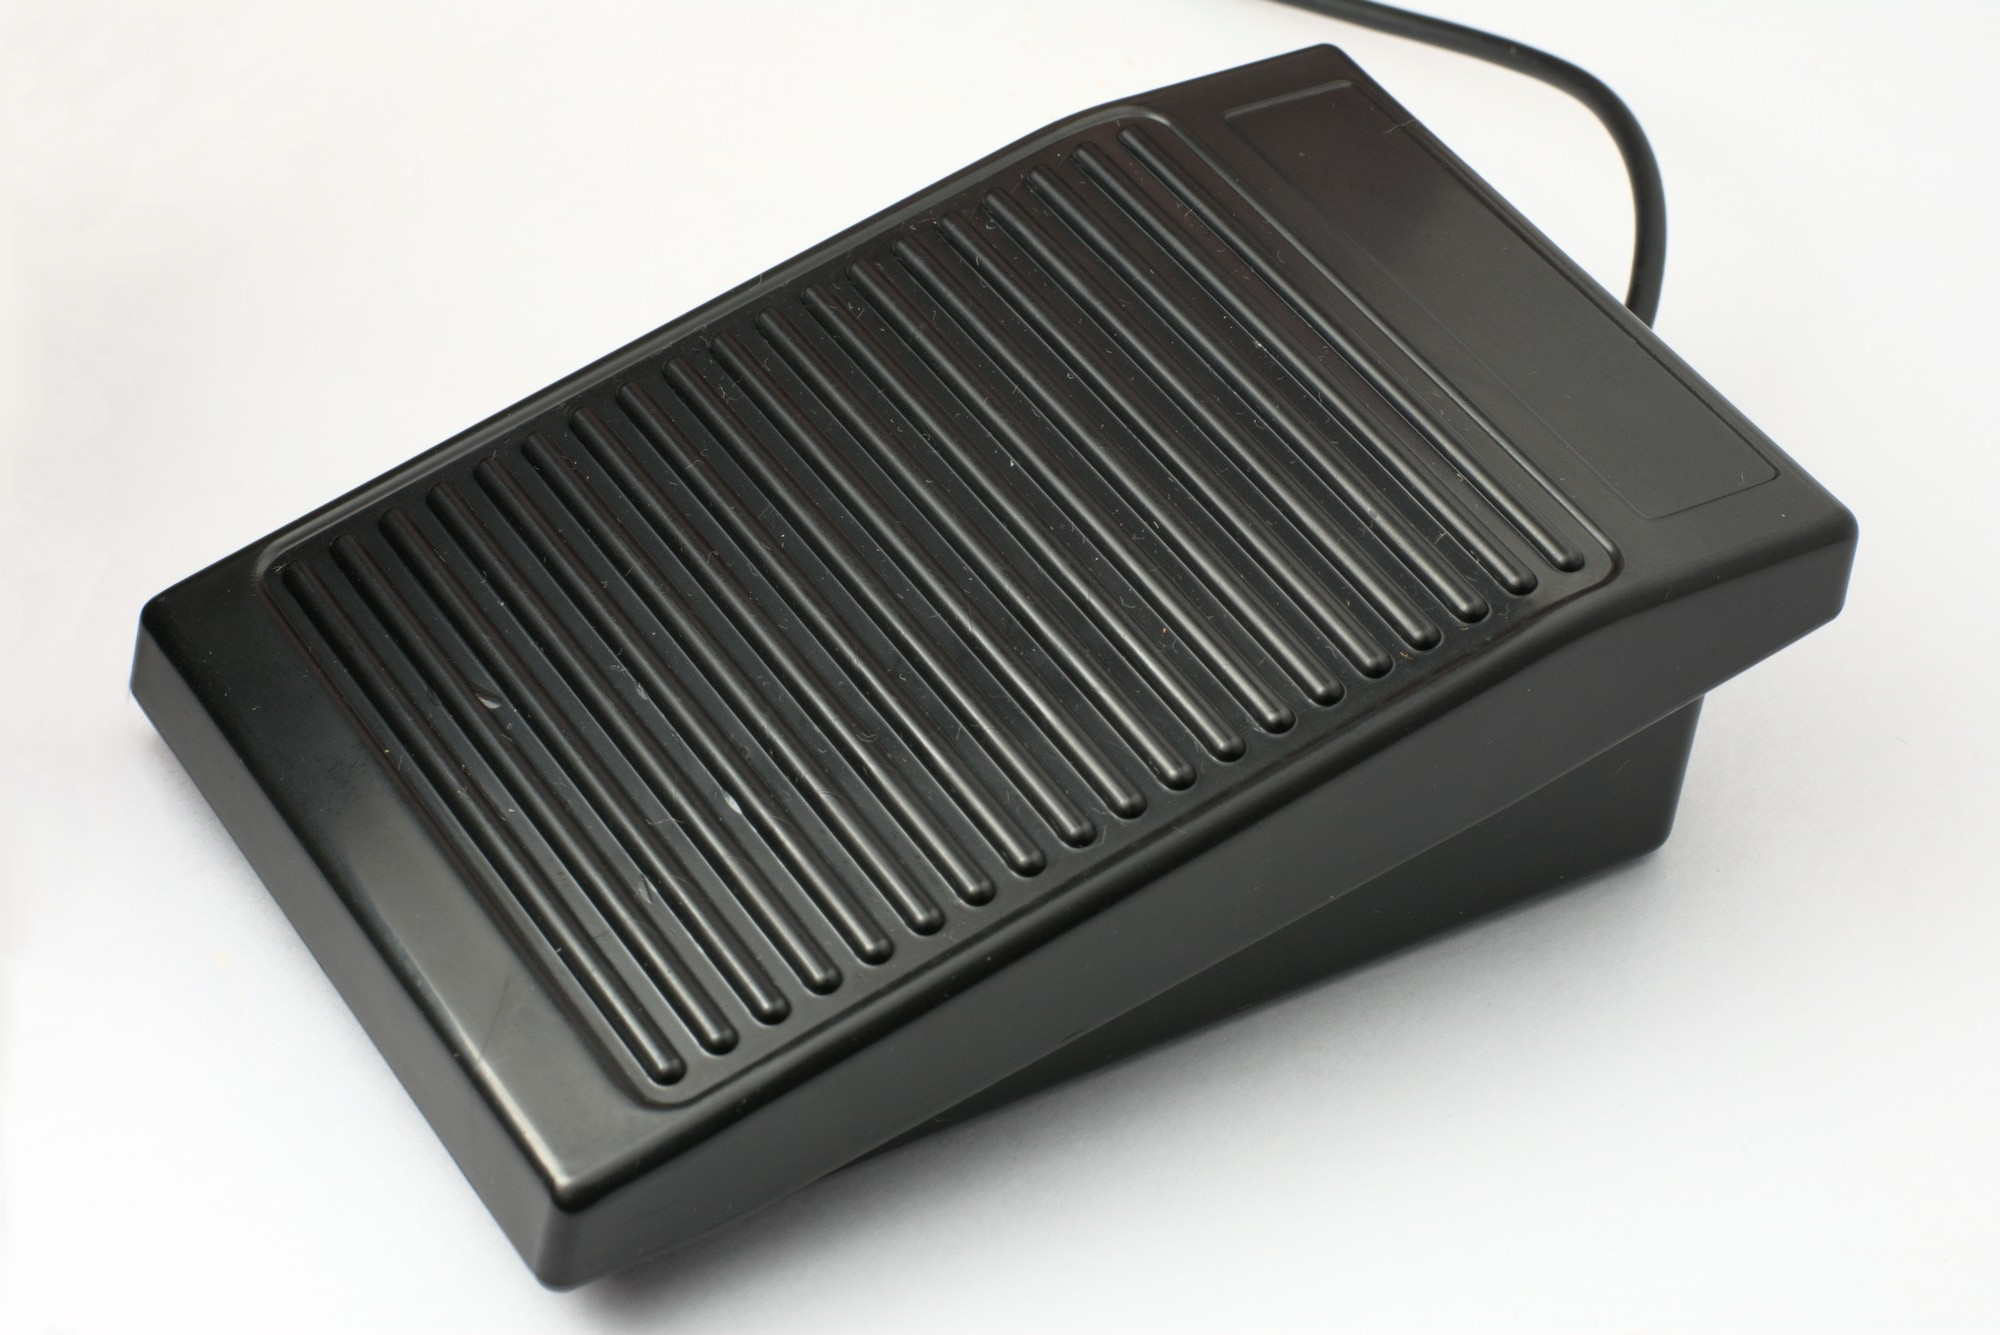
As far as pedals go, the usual suspects are full of listings for tattoo machine pedals, which act as normally-open switches. Avoiding the pedals made out of two leafs of metal which are stood on and directly form the contacts, I managed to find a plastic pedal with a proper mechanical switch, rather than the pedals where you literally stomp two pieces of bare metal together. So I finally set out to make my own vimclutch improved (vimclutchim?).
USB Functionality
Since I'm starting with a basic switch, I need something to connect it up to so that it can connect to the USB port on my computer. For this, I took the opportunity to try out the possibly-fake ATMega32u4 Arduino-compatible devboard, the "Pro Micro". I got 3 for $10 but they can be had slightly cheaper if you're feeling extra tight. Here's one with some right angle pins already soldered on (a tad too much solder for my liking, but it'll do).
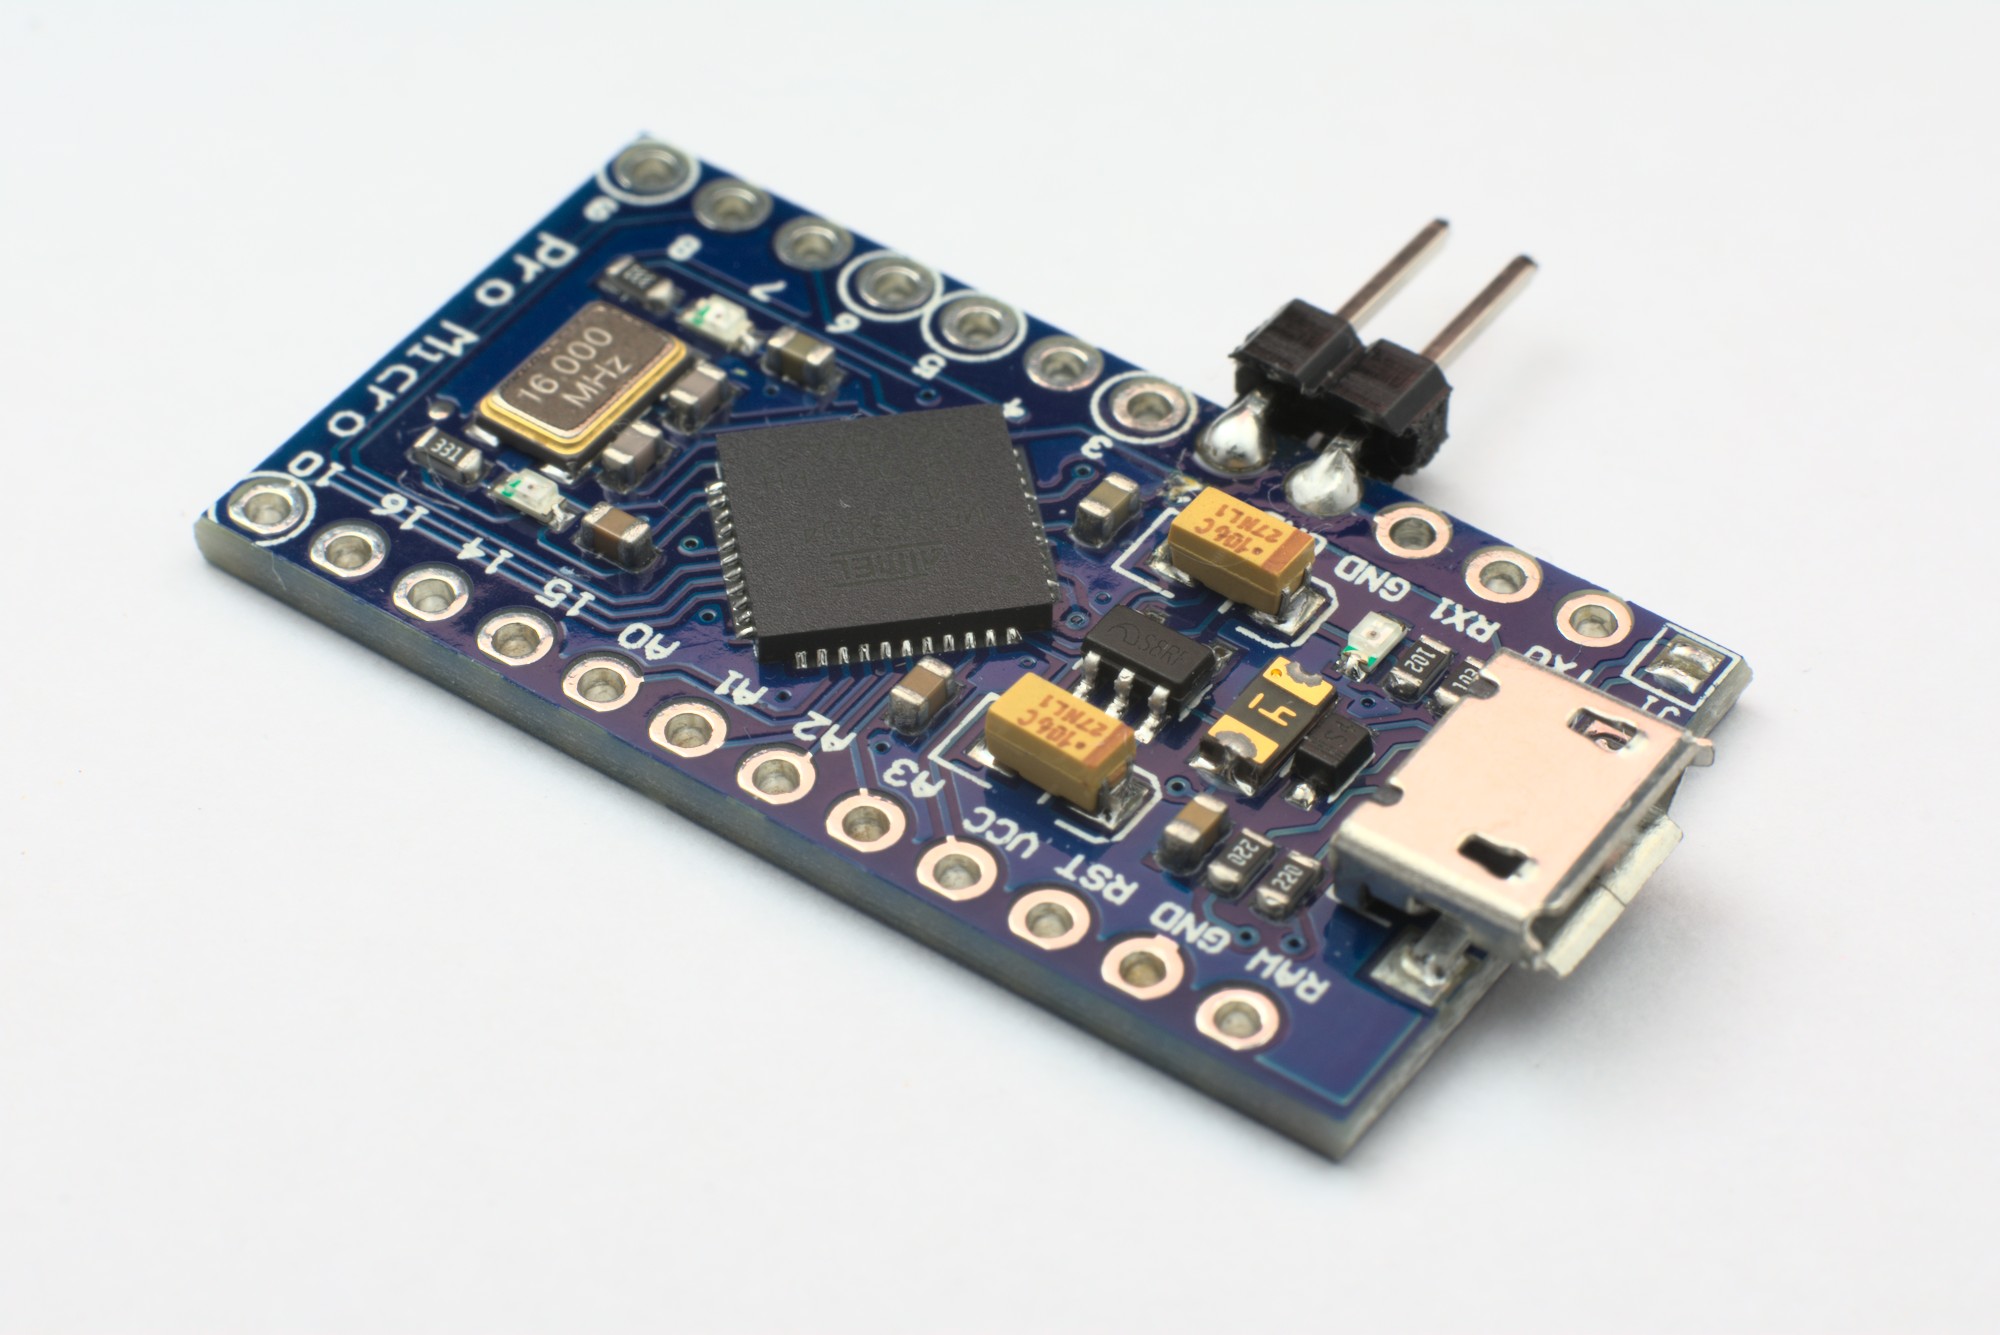
There's a lot of discussion on the internet suggesting that since these are unlikely to be genuine chips, you can expect to find parts of the controller that do not function correctly. Luckily enough, everything I needed from mine worked without a hitch, since this project hardly demands advanced features of the microcontroller.
Software
Microcontroller software
I wrote a quick 20 line Arduino sketch that does soft-debouncing of the switch input, and sends a different key press (and release), depending on whether the switch has just been closed or opened. This allows sending different keypresses when the pedal is pushed versus released.
The code is available as an arduino sketch in git, but I'll reproduce the most recent version at the time of writing here on this page.
#include <Keyboard.h>

#define KEYCODE_PRESS KEY_F11
#define KEYCODE_RELEASE KEY_F12
#define LED_PIN 17
#define SWITCH_PIN 2
#define DEBOUNCE_MS 25
#define POLL_MS 5
#define COUNTER_RESET (DEBOUNCE_MS / POLL_MS)

#define DEBUG_MARK_BEGIN   (digitalWrite(LED_PIN, LOW))
#define DEBUG_MARK_END     (digitalWrite(LED_PIN, HIGH))

void setup() {
  pinMode(SWITCH_PIN, INPUT_PULLUP);
  pinMode(LED_PIN, OUTPUT);
}

void loop() {
  static long last_poll = millis();
  static bool debounced = LOW;
  static bool raw = LOW;
  static int counter = COUNTER_RESET;

  if (millis() >= last_poll + POLL_MS) {
    last_poll = millis();
    DEBUG_MARK_BEGIN;
    raw = digitalRead(SWITCH_PIN);
    if (raw == debounced) {
      counter = COUNTER_RESET;
    } else {
      if (--counter == 0) {
        debounced = raw;
        if (debounced) {
          // Key was just released
          Keyboard.press(KEYCODE_RELEASE);
          Keyboard.release(KEYCODE_RELEASE);
        } else {
          // Key was just pressed
          Keyboard.press(KEYCODE_PRESS);
          Keyboard.release(KEYCODE_PRESS);
        }
        counter = COUNTER_RESET;
      }
    }
    DEBUG_MARK_END;
  }
}
Host software
With the help of #vim, I wrote some vimscript that could toggle me between normal mode and whichever mode I was last in. This is another improvement over the original vimclutch, which only allowed toggling between insert and normal. With this pedal, I can be in insert, replace, visual block, or any other mode, stomp on the pedal, do something in normal mode, step back off it, and I'm back in the same mode as before.
It's pretty rough at the moment as I am a vimscript noob, but it works for most cases. You can find it in this diff, attached below:
let g:previousmode = 'i'
function PushModeSwitchNormal() abort
    let g:previousmode = mode()
    " important: l so that we don't walk backward every time clutch is pushed
    return "\<C-\>\<C-n>l"
endfunction

function PopMode() abort
    return g:previousmode
endfunction

inoremap <expr> <F11> PushModeSwitchNormal()
vnoremap <expr> <F11> PushModeSwitchNormal()
xnoremap <expr> <F11> PushModeSwitchNormal()
snoremap <expr> <F11> PushModeSwitchNormal()
onoremap <expr> <F11> PushModeSwitchNormal()
inoremap <F12> <Nop>
vnoremap <F12> <Nop>
xnoremap <F12> <Nop>
snoremap <F12> <Nop>
onoremap <F12> <Nop>
nnoremap <expr> <F12> PopMode()
Assembly
Assembly of the pedal was relatively simple. For the first integration test, I simply had the micro dangling around inside the pedal casing from the USB cable. After this, I performed some measurements of the microcontroller PCB and drafted a bracket up in OpenSCAD. After some smaller test prints to work out fudge factors, I printed the full bracket out. My printer has uneven part cooling and this is a PLA part so it's not the nicest quality, but it's not a part that needs to look good, being completely internal.
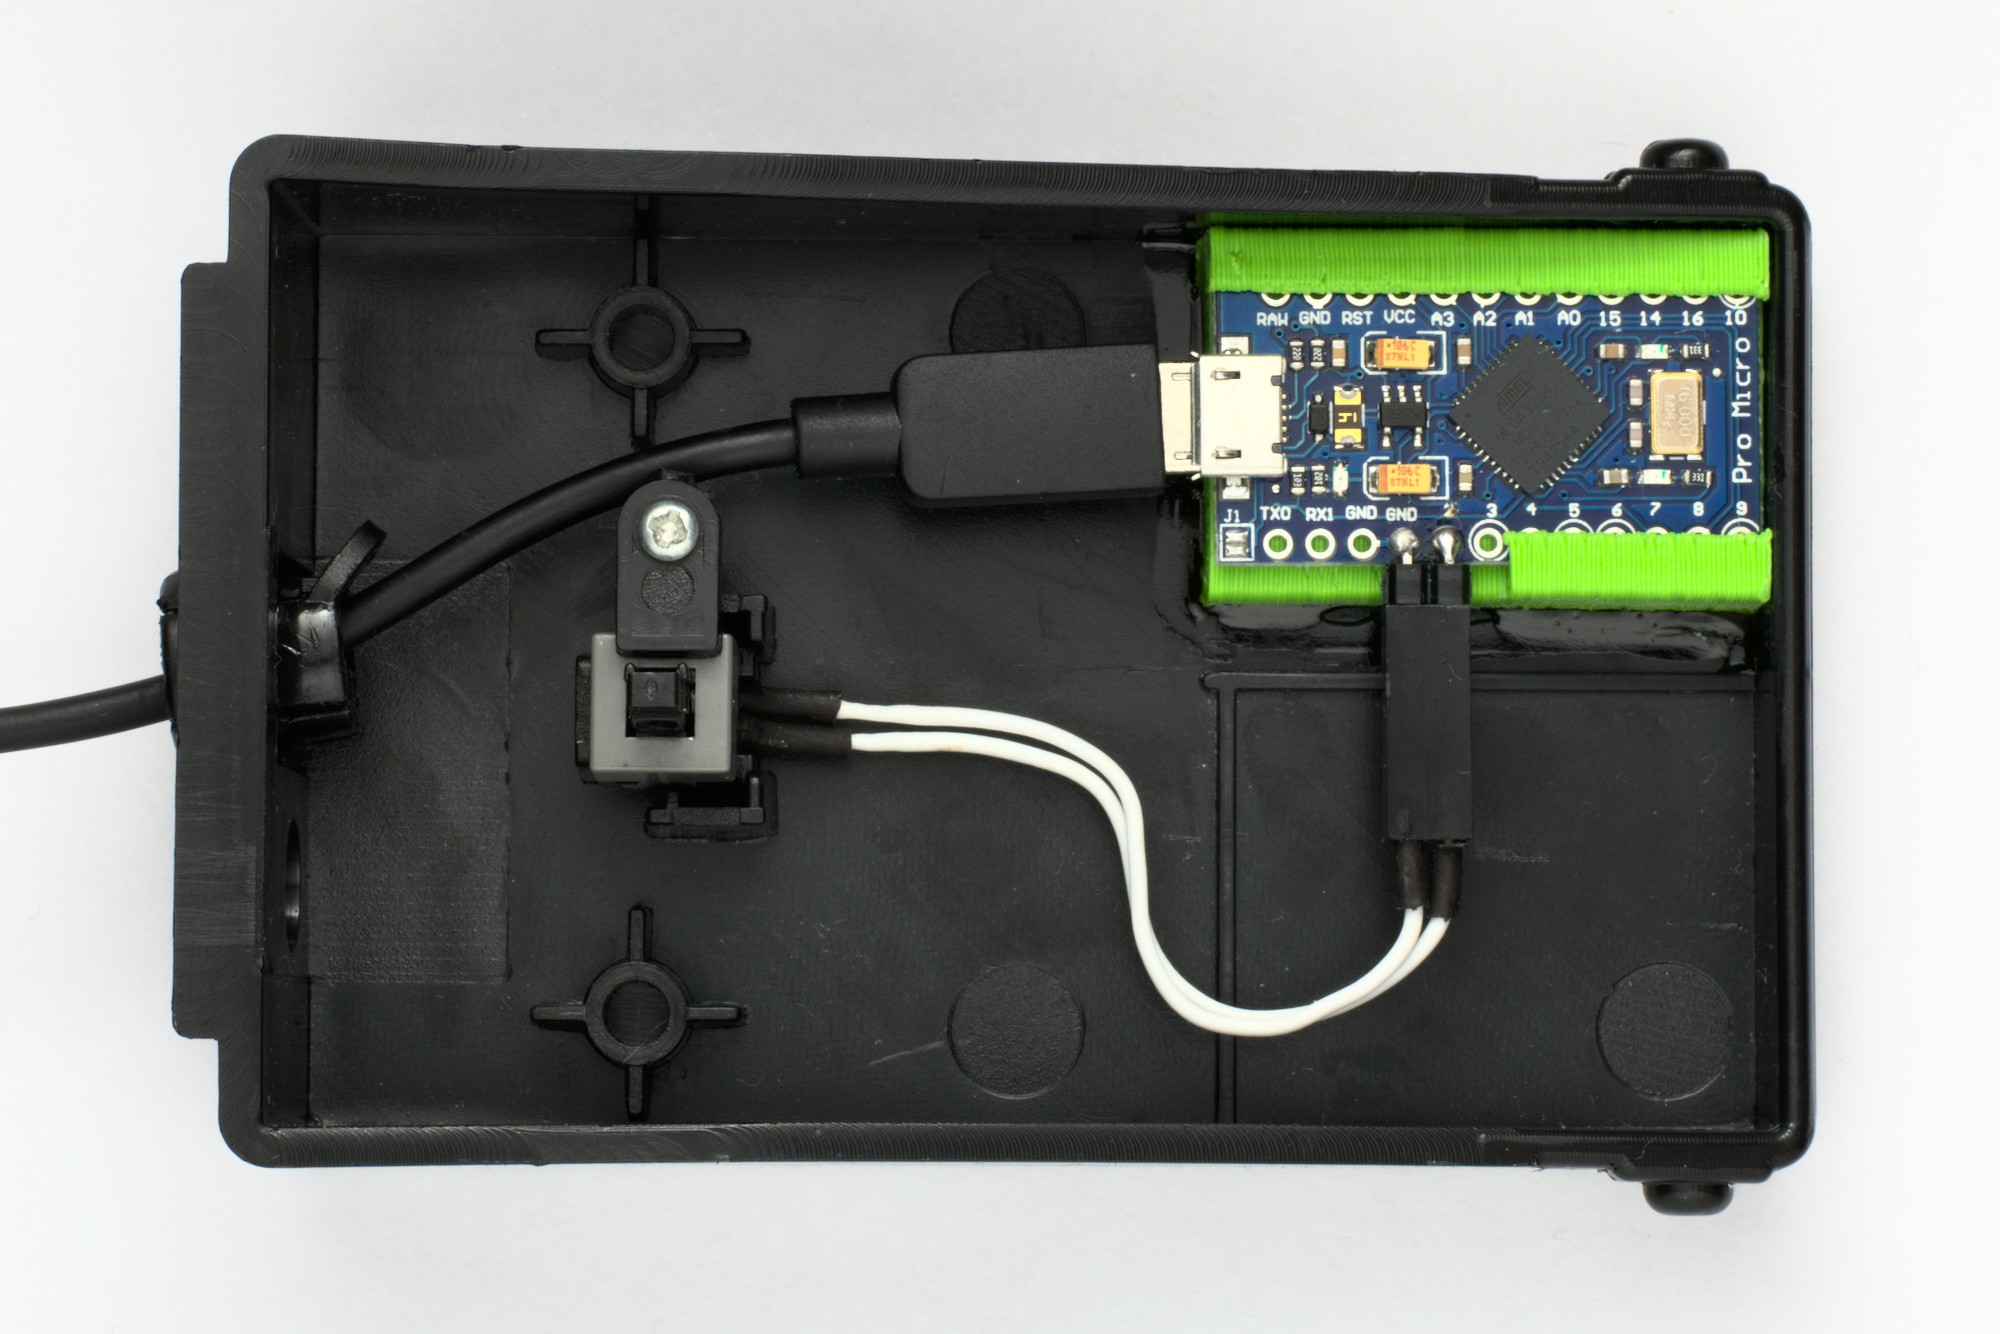
The bracket was designed to be glued down, or to hold a captive M3 nut in case gluing didn't work out. At the time of writing, the CA glue seems to have taken fine to adhering the PLA printed clip.
Practicality
I've typed this article with the vimclutch under my left foot. I've yet to do much editing with it, but I don't imagine it'll make me any more efficient with vim. Nonetheless, I'm still keen to give it my best shot. I'm a little concerned about the ergonomics of it, but this is something I'll have to leave until I can set it up properly at work.
I'm also building a list of tweaks I'd like to make on the software side.
I'll be honest, I don't have a particular need for the pedal, I just wanted to build one for the fun factor and novelty.